I never got the chance to come back and share how much this collab really changed me! Not only was I right in the middle of losing some serious weight, we also had to move which was a test of faith within itself. We made it through and I promised myself I would restart my blog and post about EVERYTHING past and present.
Originally, the plan was to give each look during this collab its own post. If you look back at my previous post here, looks 1 and 2 posts were completed but looks 3-6 had to wait. Now that I'm back, I want to share them all in this post.
This collab was MASSIVE for me, I feel it respectfully needs its own post. I often use my blog to help my clients and followers get direct links to products they need I'm using.. If you need more details on how I achieved these looks, it will be here or just DM me girl! It's also easier to share ALL details from here than on my other platforms. No one pays attention to captions anymore, I'm convinced. So if you care, I'll direct you here! That is why I created this blog. Captions & link in bios get on my nerves these days... I always feel we NEED more lol
Each look below I'll give a brief description on. This post will never end if I focus on everything that went wrong. However, I do have some things to get off my chest haha. Come along and take a journey with me this Throwback Thursday!
Look 1
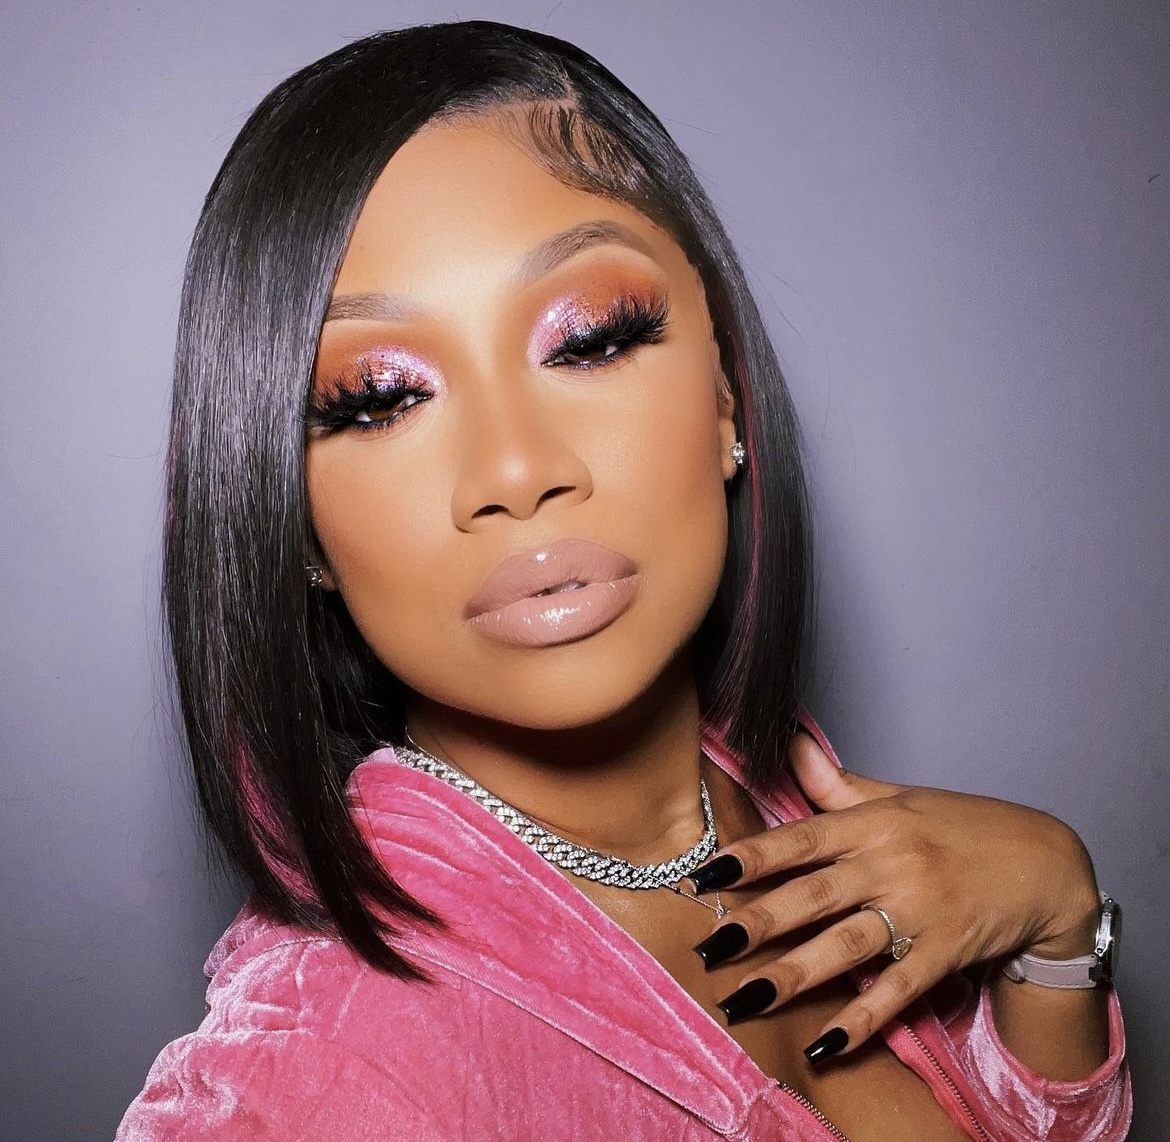
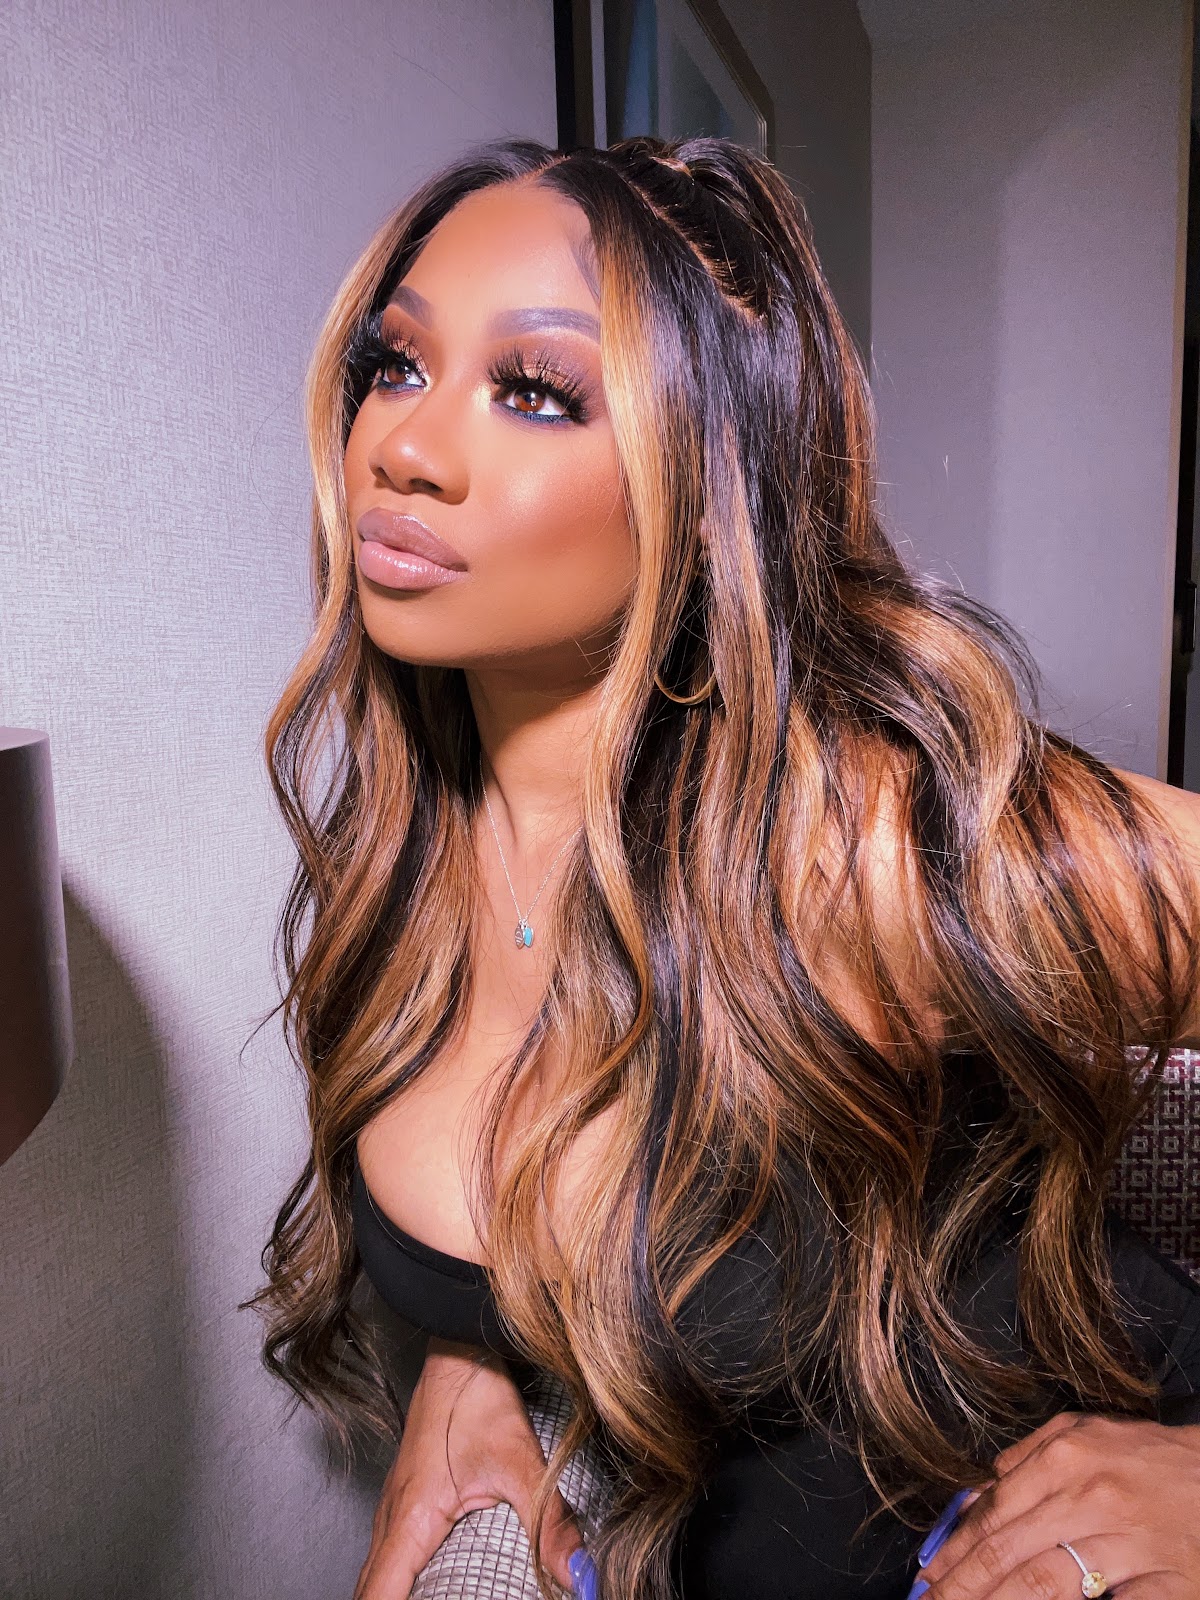
This hair I remember only needing 2 bundles because they are very full at this length. This wig is currently a bob now and I've replaced the frontal already because I grew tired of the blonde. That was the end of last summer and guess what? Now I'm bored again 😂 ...that peanut butter blonde piece will be back. Click the links below for tutorials on how I started this look vs where it is currently. That just gave me new content to create in my mind bc I'll be back with new looks in this wig this summer forsure.
Look 2
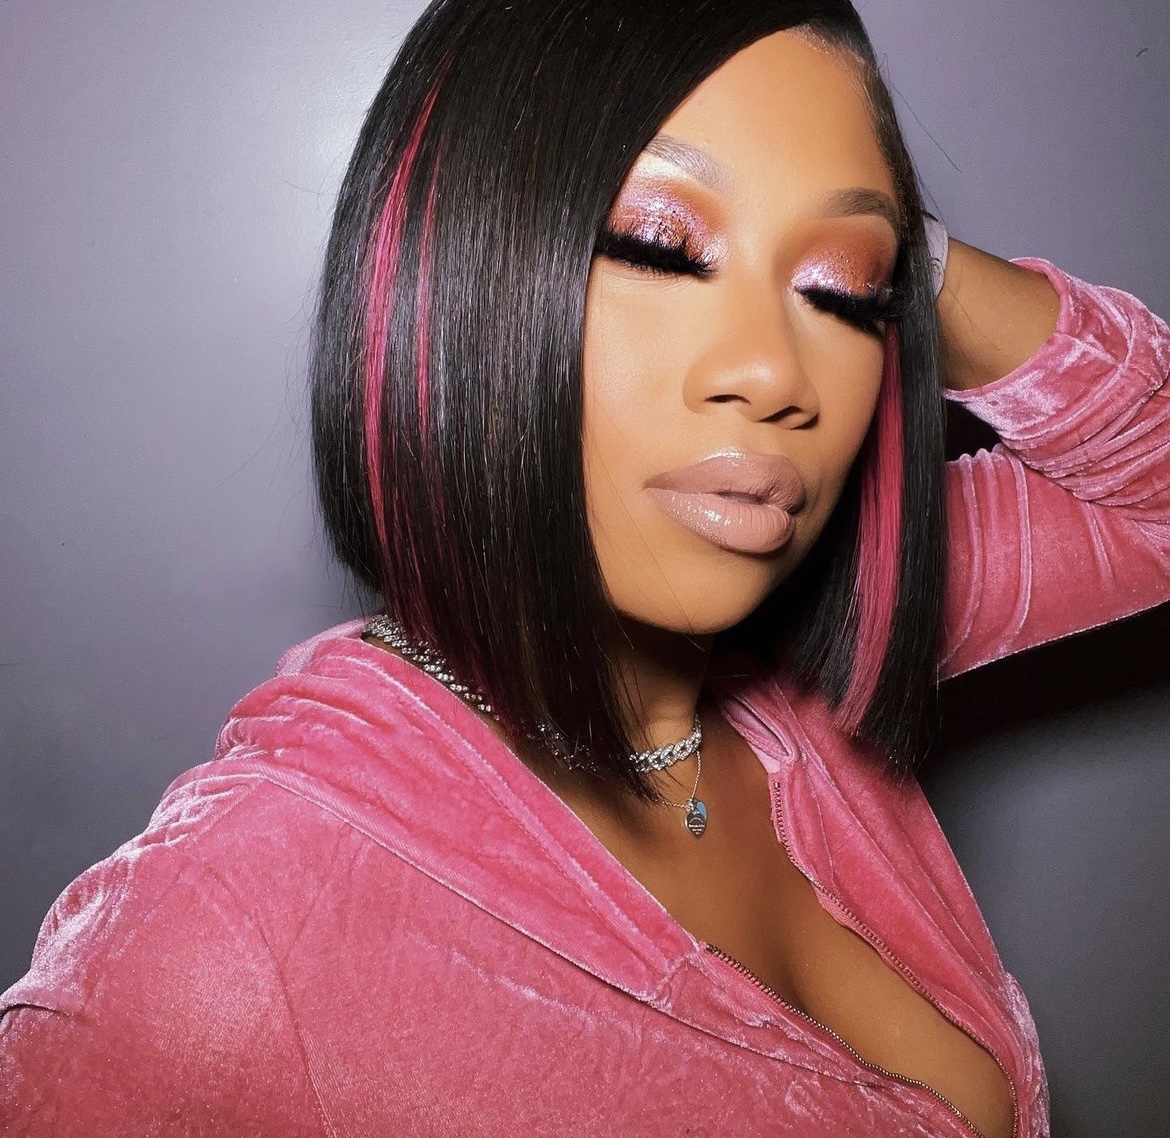
Look 2 was such a fun look. This was by far the easiest one yet. I still can't believe I made every single wig in this collab. I should've requested premade wigs because the amount of time I spent on each wig should be studied LOL.. I do trust making my wigs so much more these days. In fact, since I made every wig, it's easier for my to reconstruct & repair them for new looks! This is why hand making wigs will always be superior to me than premade wigs. Once a premade wig is done, it's over. Once a handmade wig is created, the options are endless.
Look 3
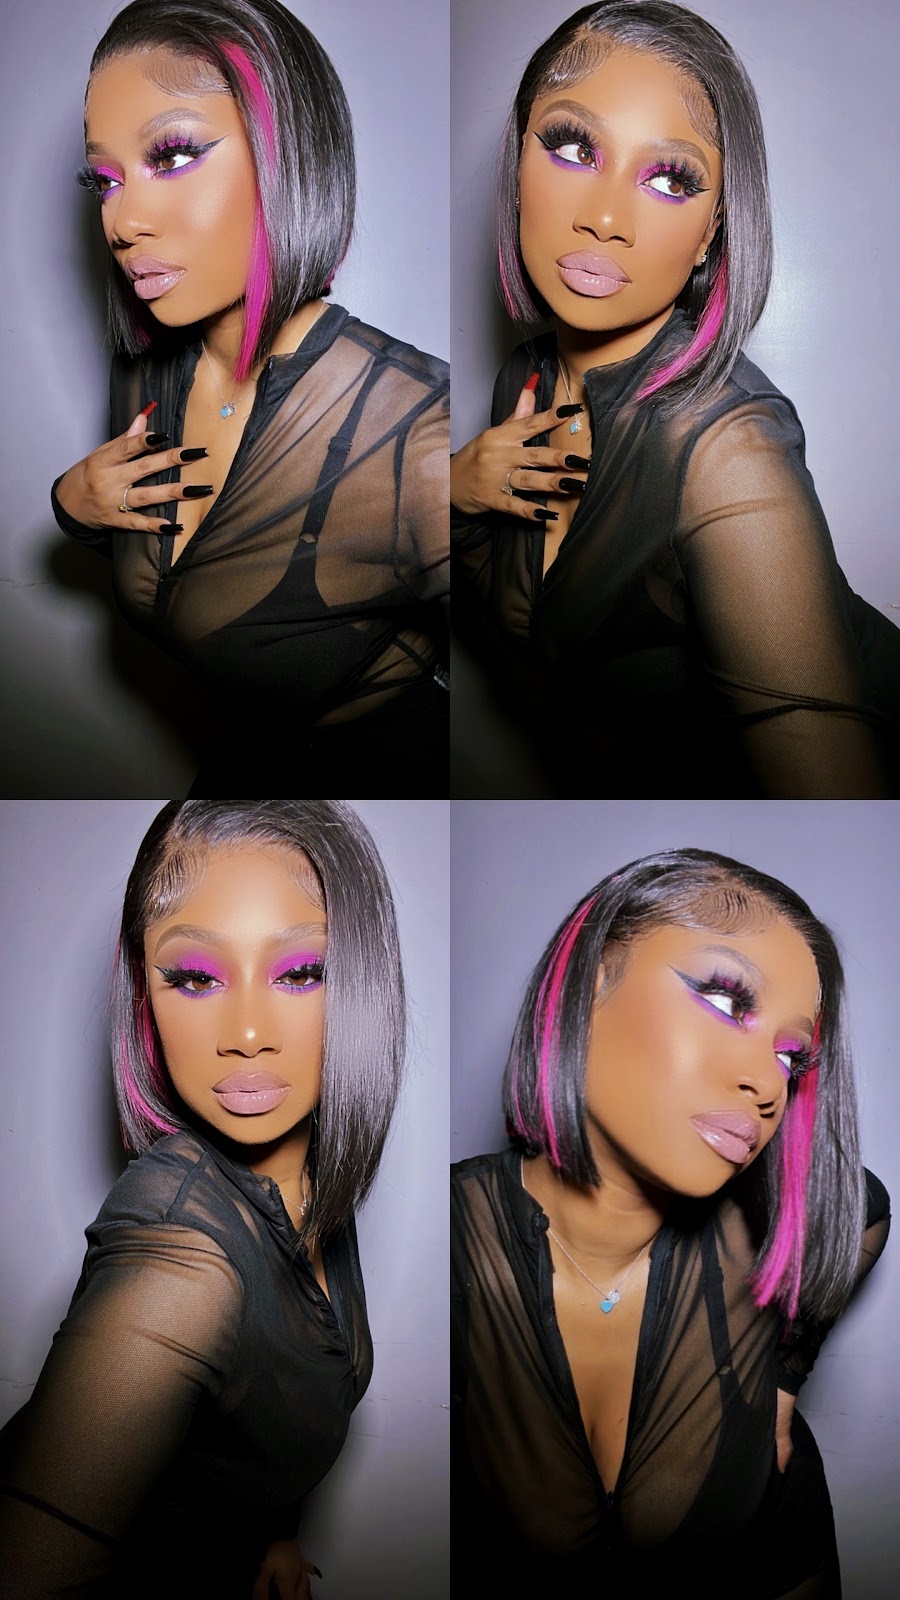
VA VA VOOOOOMMM! So I had this vision in my head and I could not let go. My outfit could've been cuter tho in my opinion😂. My family roasted me so bad for this outfit LOL. Sometimes I literally pick outfits that strictly go with the look. I think I returned it also. I'm cracking up reading this back to myself, I have to stop. This is another wig I will be bringing back very soon! I want a updo with bangs, I just ran outta time. If I don't get around to adding it here, check my IG.
Look 4
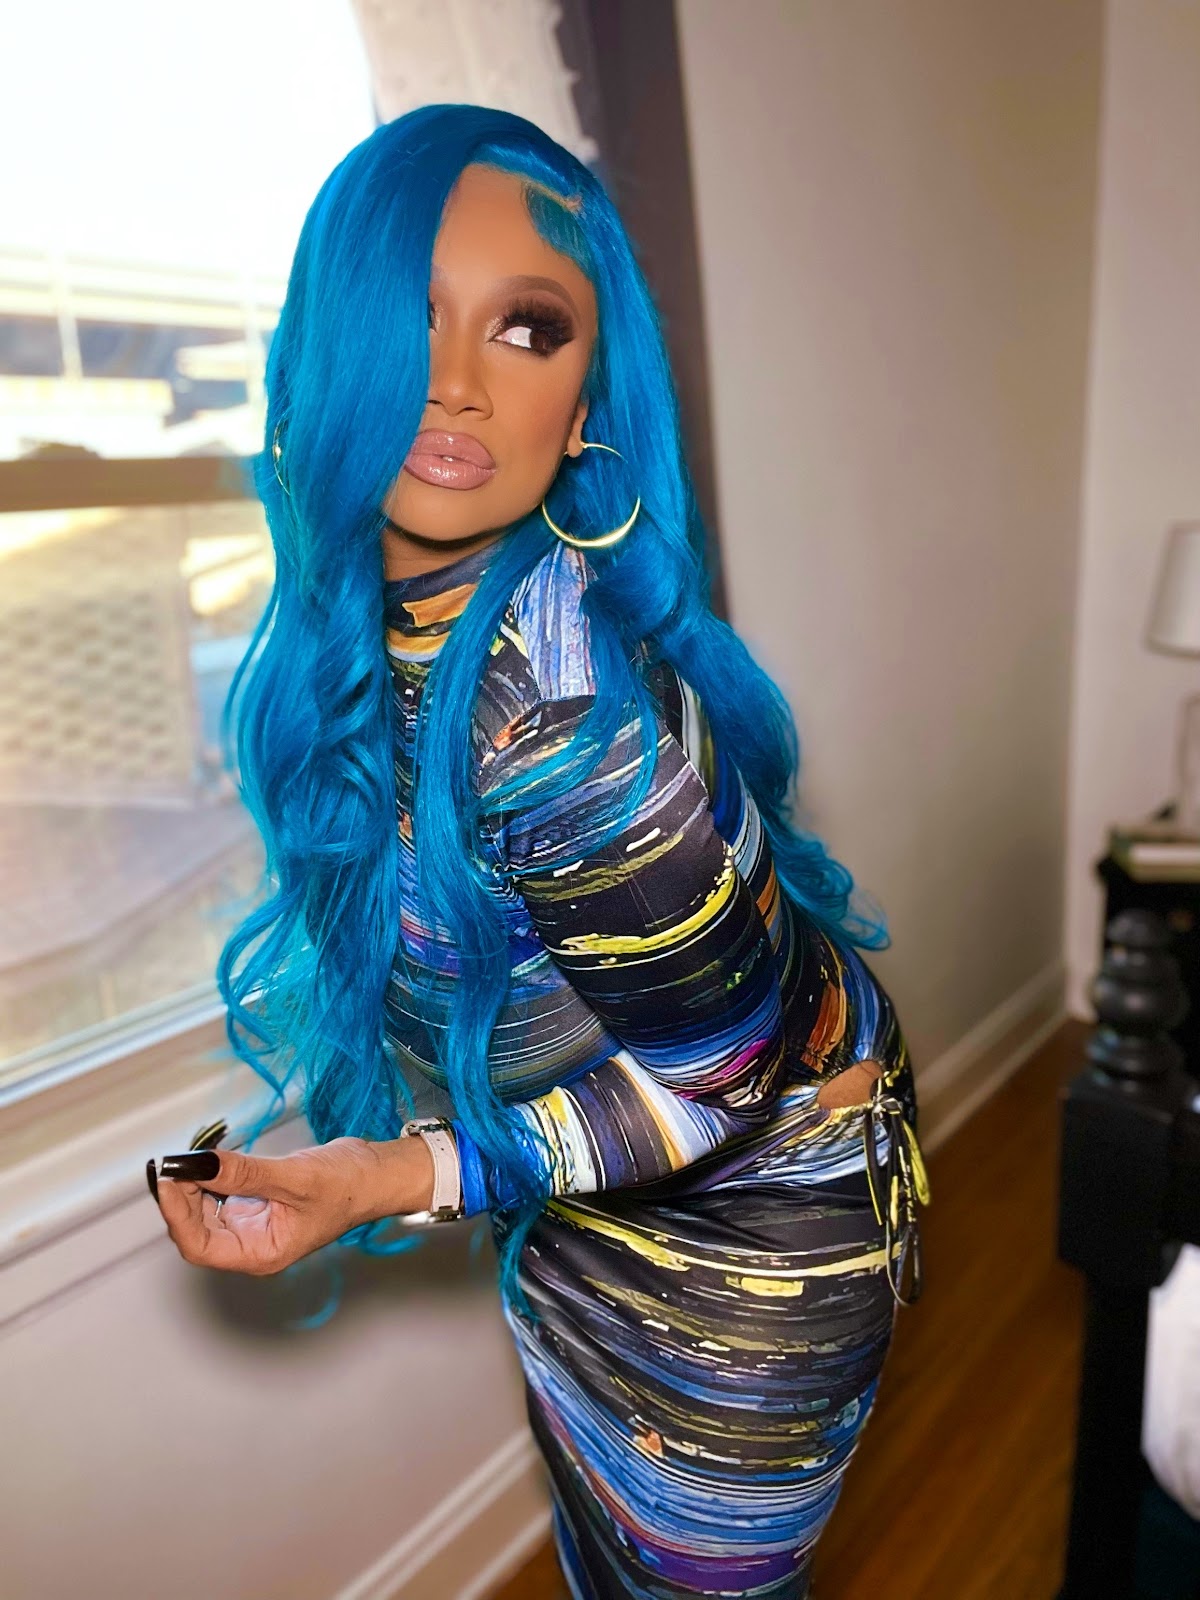
NOW THIS LOOK y'all went crazyyyy! This is one look I will never forget bc we were literally in the middle of moving with 1 week to be gone. I started the wig and color in my house and finished all looks in the AirBNB. I am still so proud of this look in particular bc it will always mark a very pivotal moment in my life hands down. A time was had! I wish I could detail the entire journey but like I said before this will be a long chapter to explain. If you're my client, then you already know LOL.
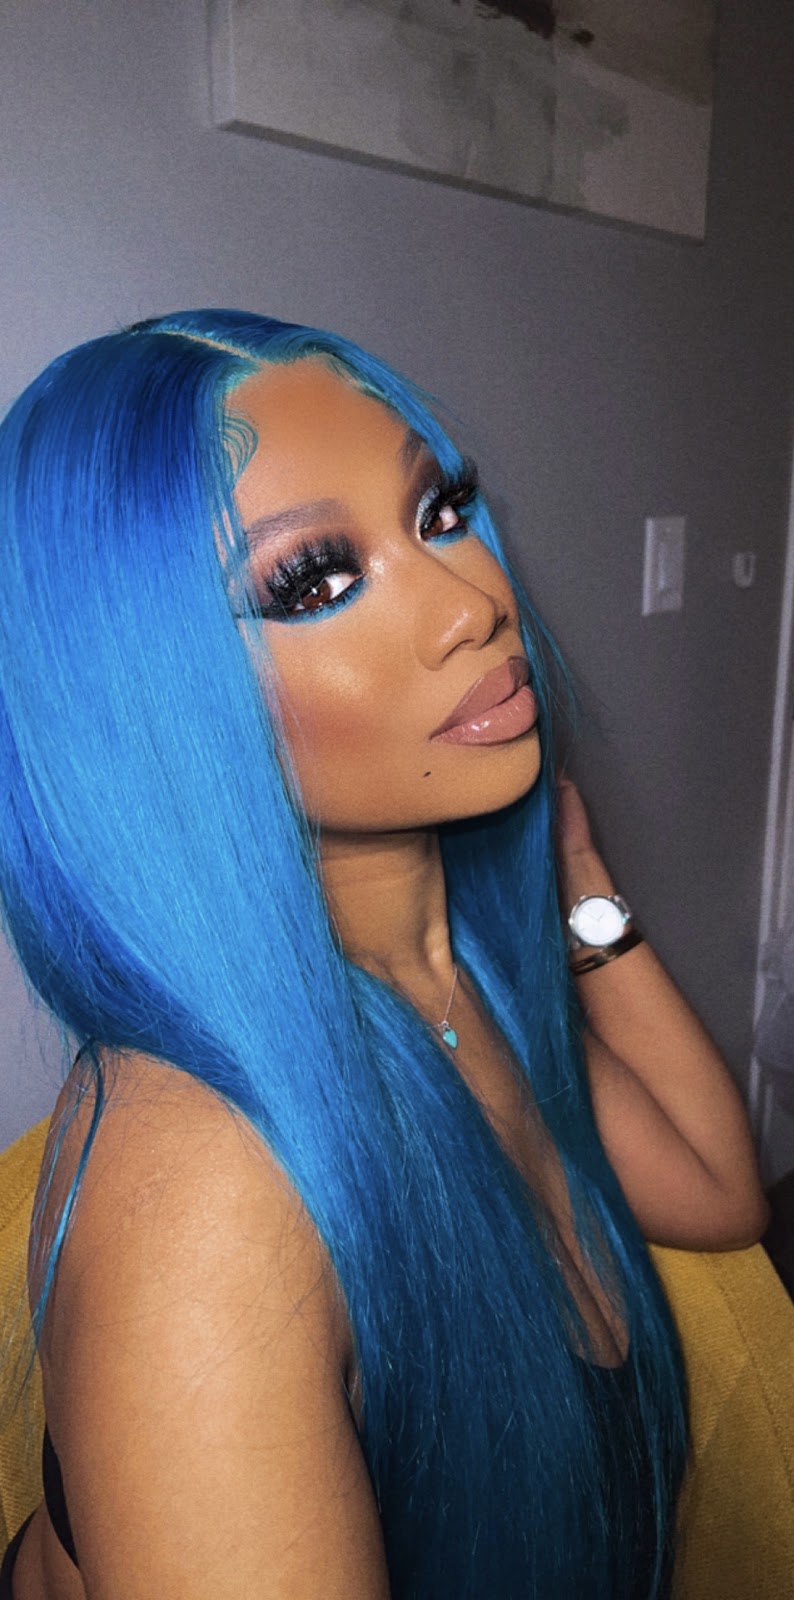
I will be back with more looks on this one too. The blue bun pictured above was something extra for the holidays, it was not apart of the official roll out. Since then, I've done just about everything bangs and all, I even replaced the frontal recently for a whole new look. Check out my instagram because more than likely the blue wig you see was this ORIGINALLY. Now that I think of it, the color it is now is what I wanted. My client came in with this gorgeous wig she colored Aqua months prior and I knew in my mind I would be Aqua blue. I accidentally mixed a dark indigo blue in the hair during the process and this was the result. At first I was pissed, then I realized that's how a look can go from a copy to original, QUICK. Don't sleep on mistakes! Aveda taught me mistakes are discoveries and this color proved that. Full details below including links to my tutorials on this look.


Look 5
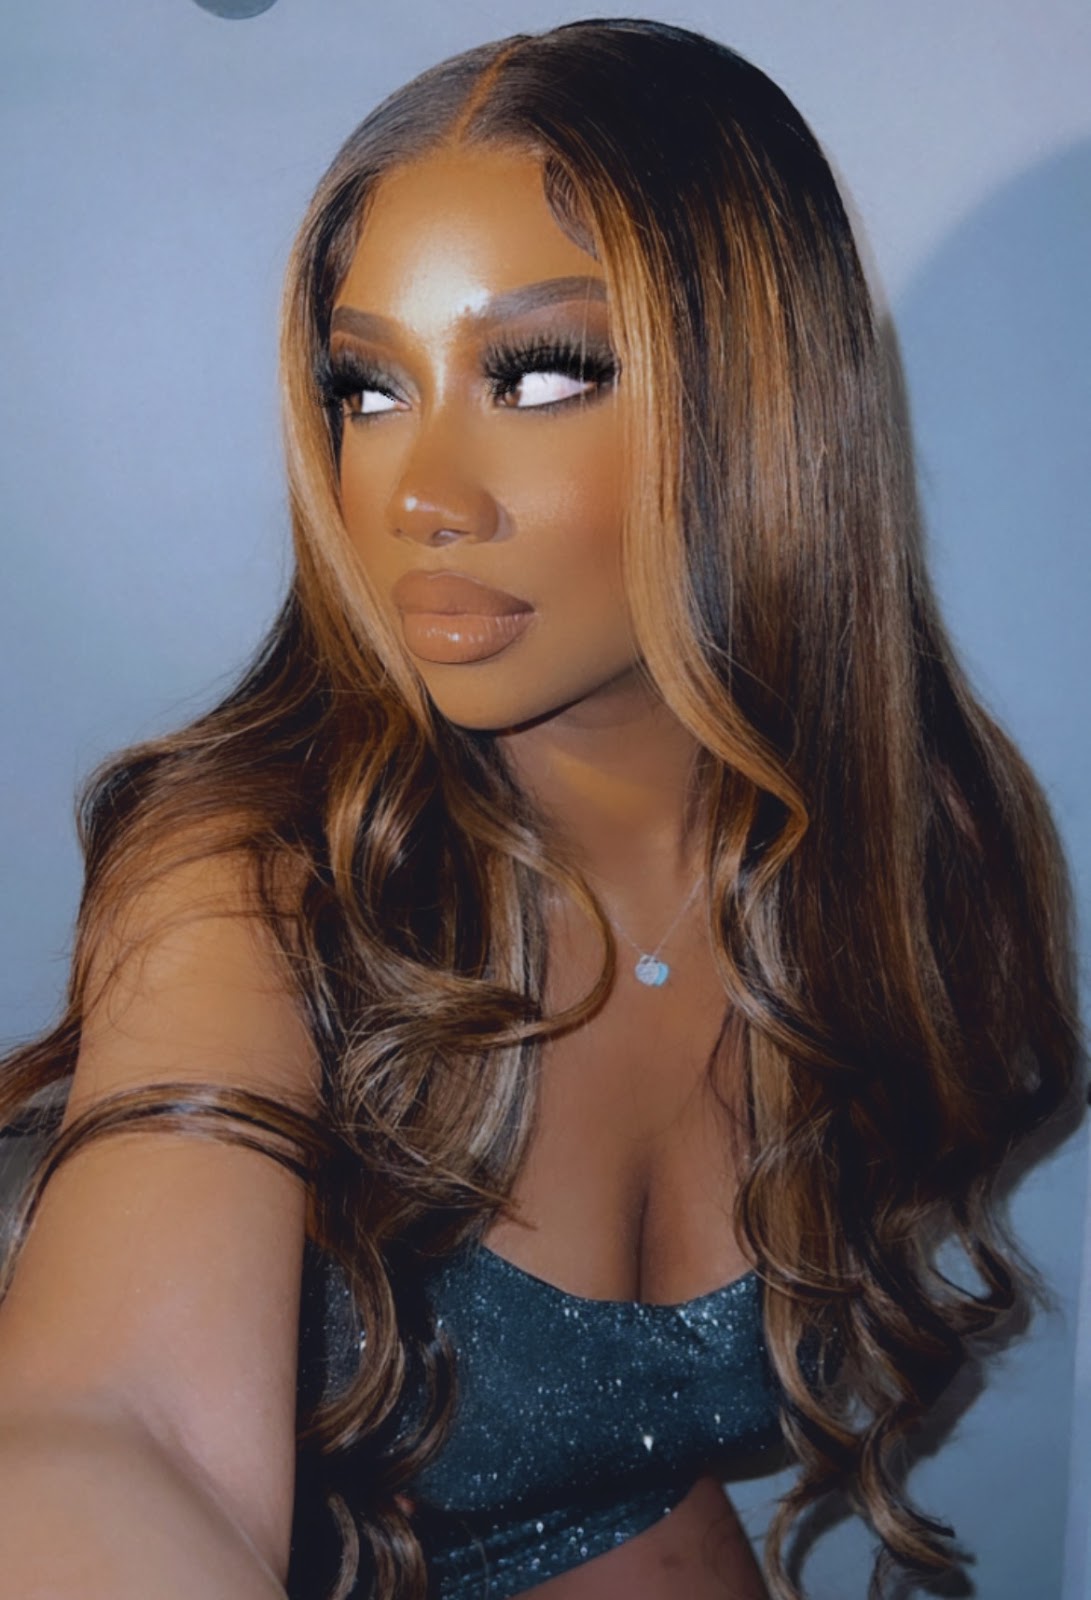
This texture: Malayasian Body Wave 😩🤌🏽🔥 26” x2, 24” x 1, & a little bit of 22” I added in there to layer well with the frontal.. which was 18”
My birthday hair last year! February 2nd is my bday and this is how I spent it last year lol. Not too much to explain on this bc everything went flawlessly. I didn't even have to tone! True growth in my skills indeed, and this hair was the perfect of course! Very impressed.
Look 6
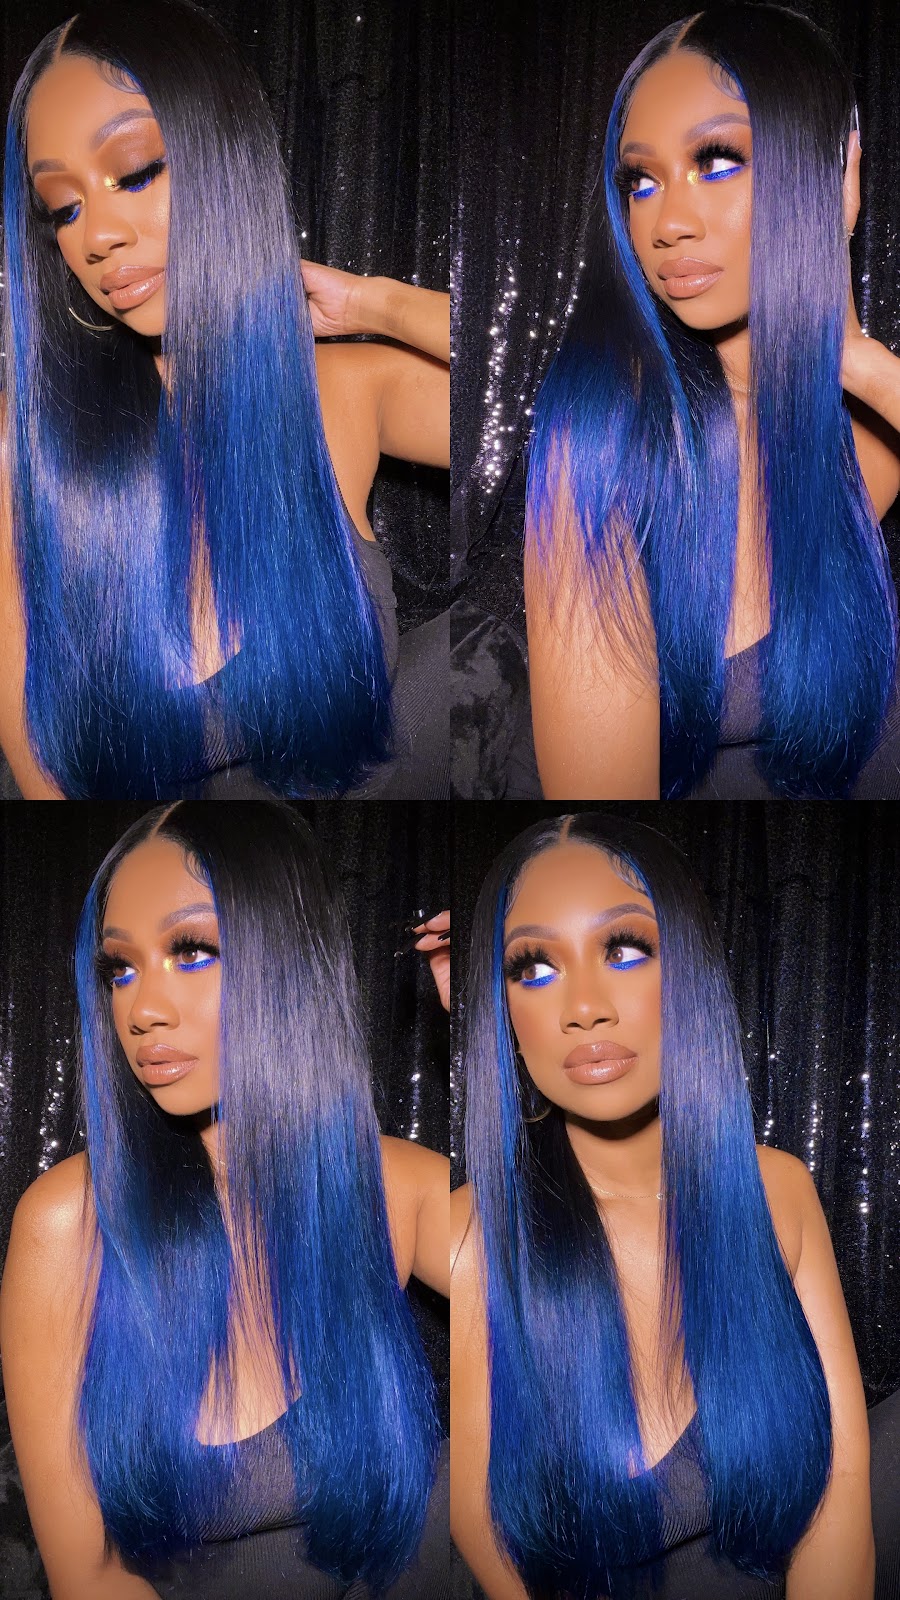
This look and I have serious beef. I will never do dark blue like this again idc. I can't tell you how many times I had to refresh this blue. It would not stop fading no matter what products I used. I was so inspired by this stylist's creation. I really should've checked for tutorials bc I drove myself insane trying to master this color. Never again, I should've ended this collab with the hair as is. I was rocking it black for a while before I colored it. Y'all remember the acronym K.I.S.S. (keep it simple stupid) in highschool? I definitely should've applied that method here.
If you made it here you took that journey with me and I so appreciate it. Feel free to message me with any questions if I missed anything for you. More videos, post and stories on ALL these looks can be found on my IG. See y'all next time!












No comments
Post a Comment